Di. 23.05.2017, Hörnli

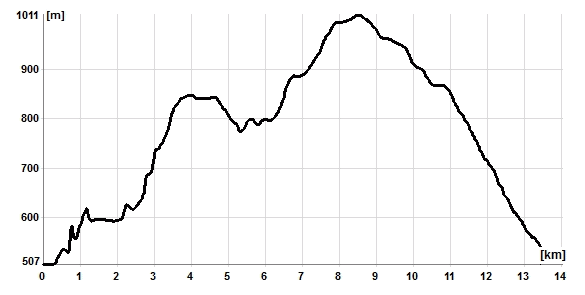
 So. 11.06.2017, First - Hohe Kugel
|
Di. 23.05.2017, Hörnli
|
|
So. 11.06.2017, First - Hohe Kugel
|
| ||||||||||||||||||||||||||||||
| ||||||||||||||||||||||||||||||
siehe auch
| ||||||||||||||||||||||||||||||
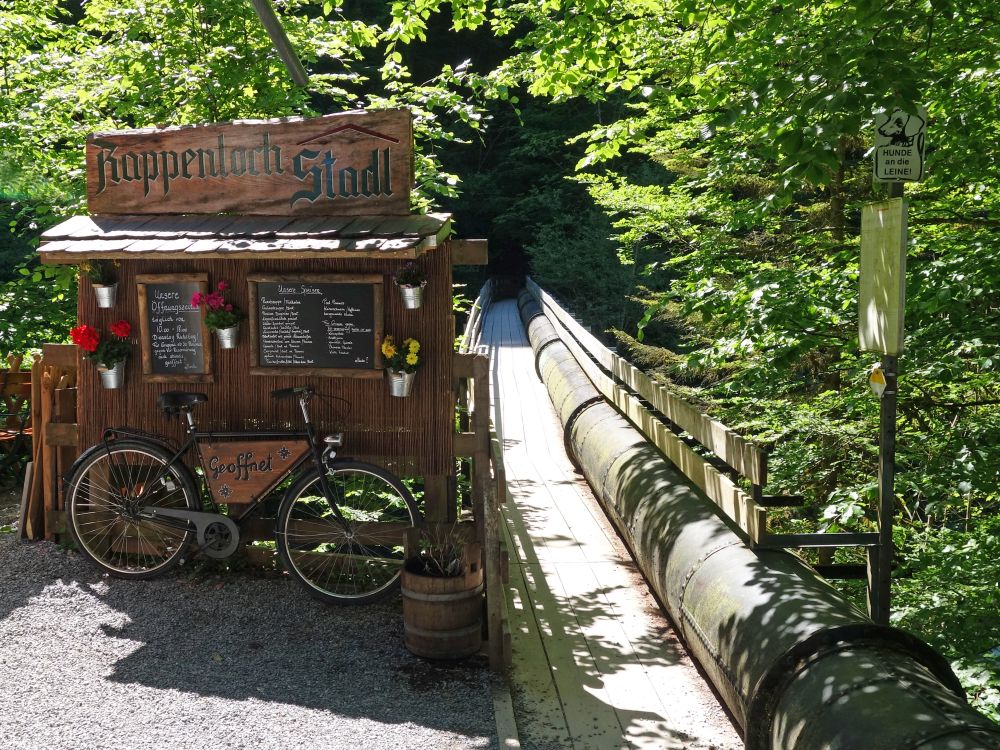 Bild 1: Eingang Rappenloch | ||||||||||||||||||||||||||||||
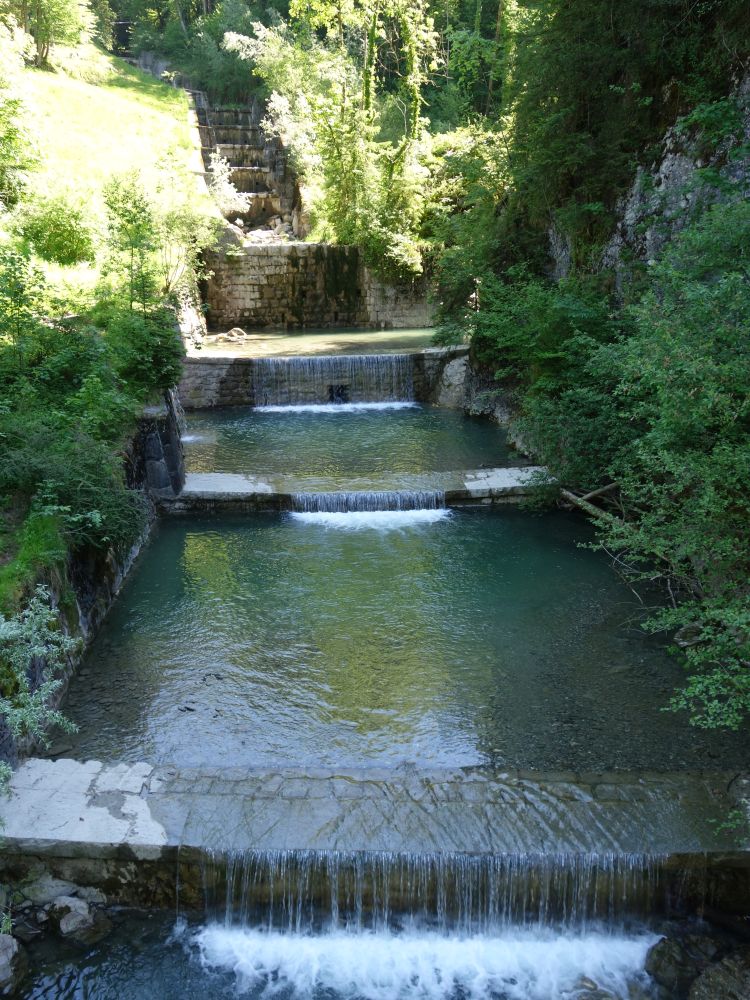 Bild 2: Kobelbach | ||||||||||||||||||||||||||||||
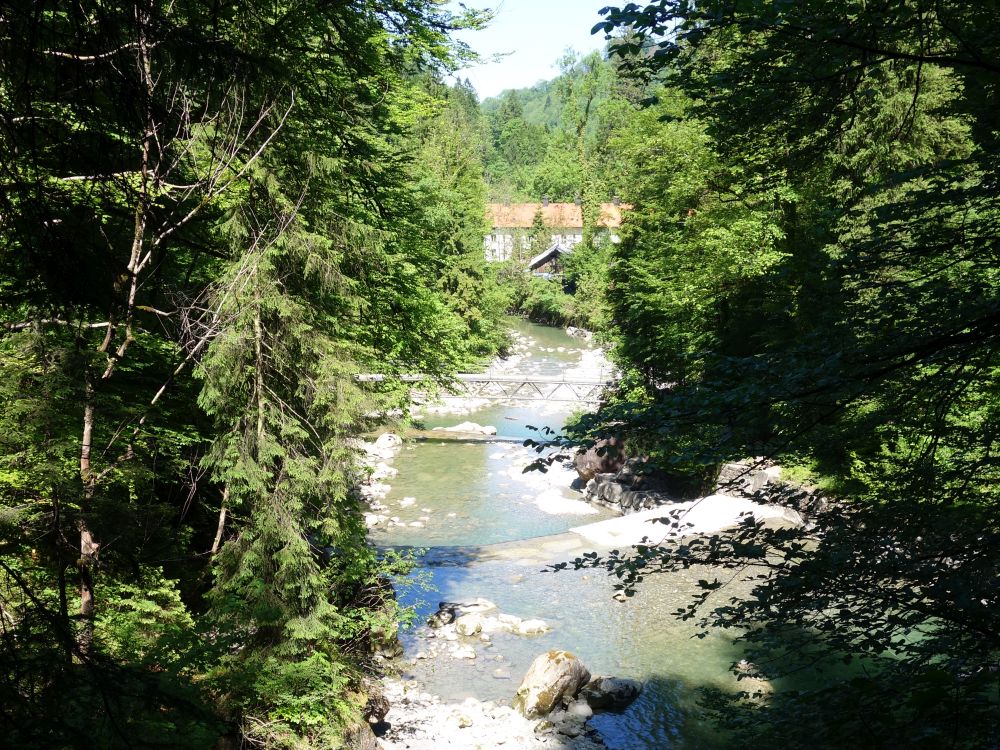 Bild 3: Dornbirner Ach | ||||||||||||||||||||||||||||||
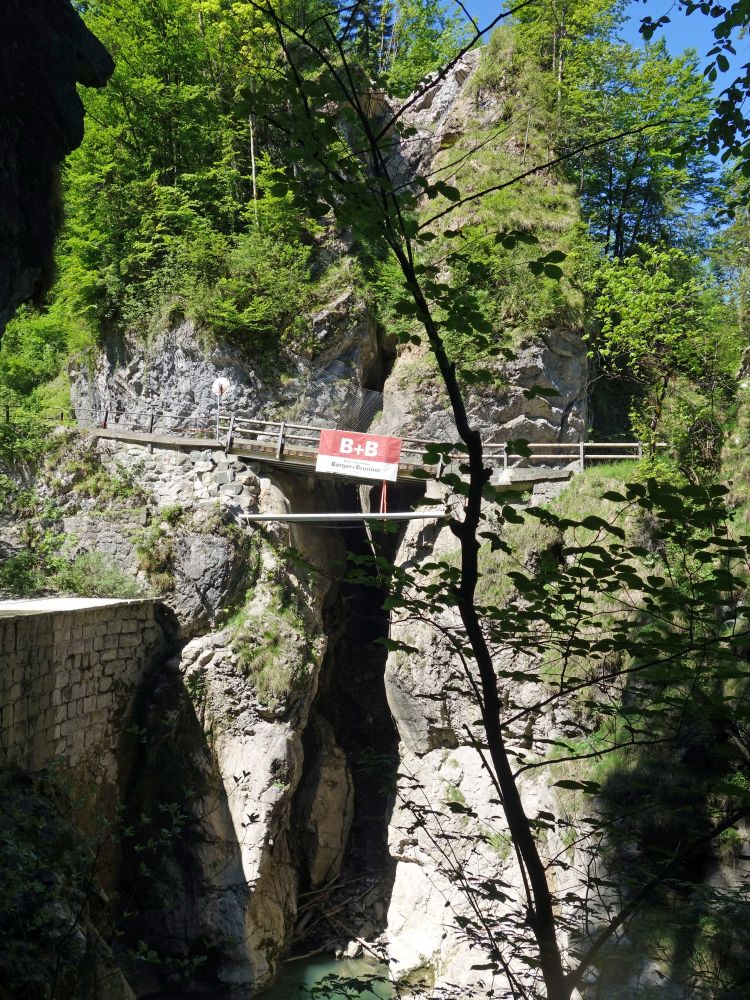 Bild 4: Baustelle im Rappenloch | ||||||||||||||||||||||||||||||
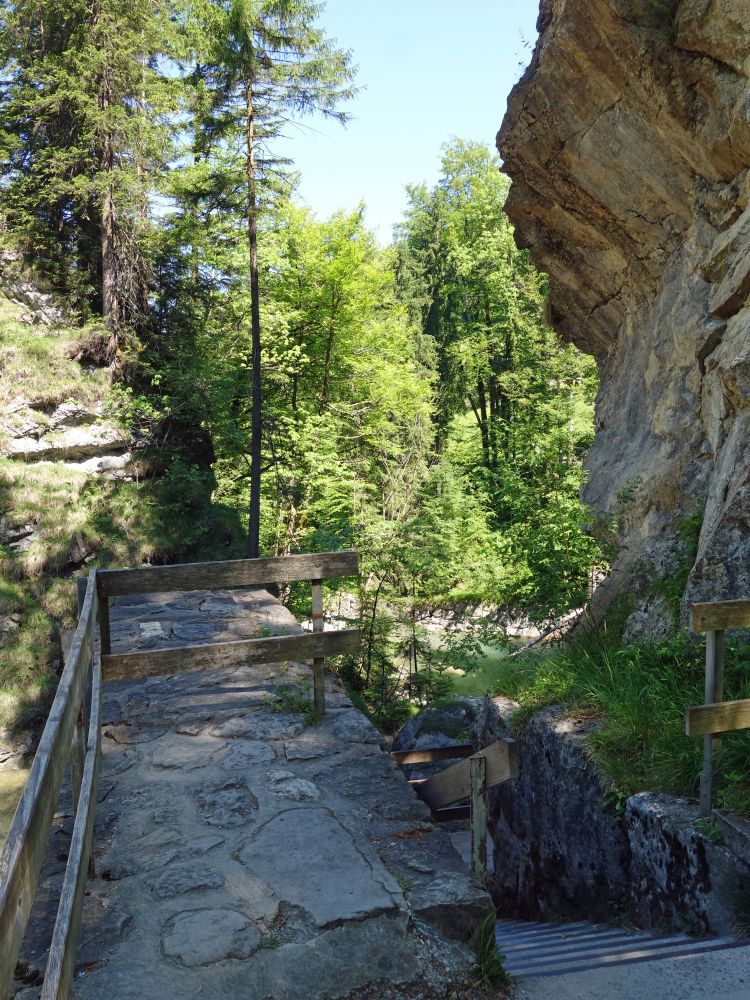 Bild 5: Rappenloch | ||||||||||||||||||||||||||||||
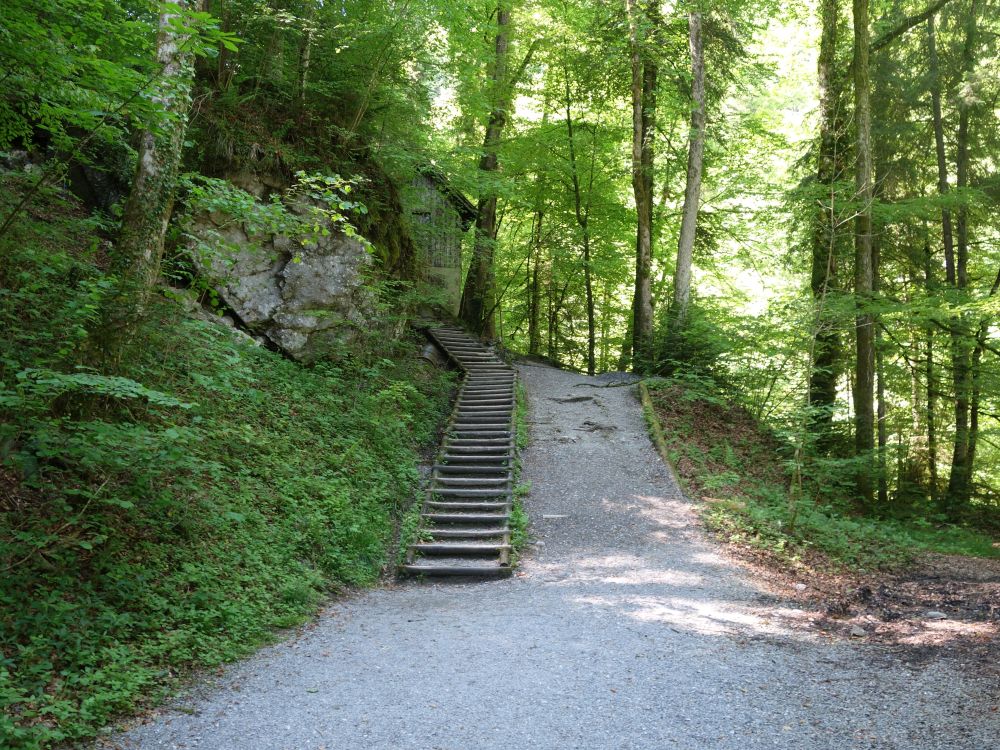 Bild 6: Rappenloch | ||||||||||||||||||||||||||||||
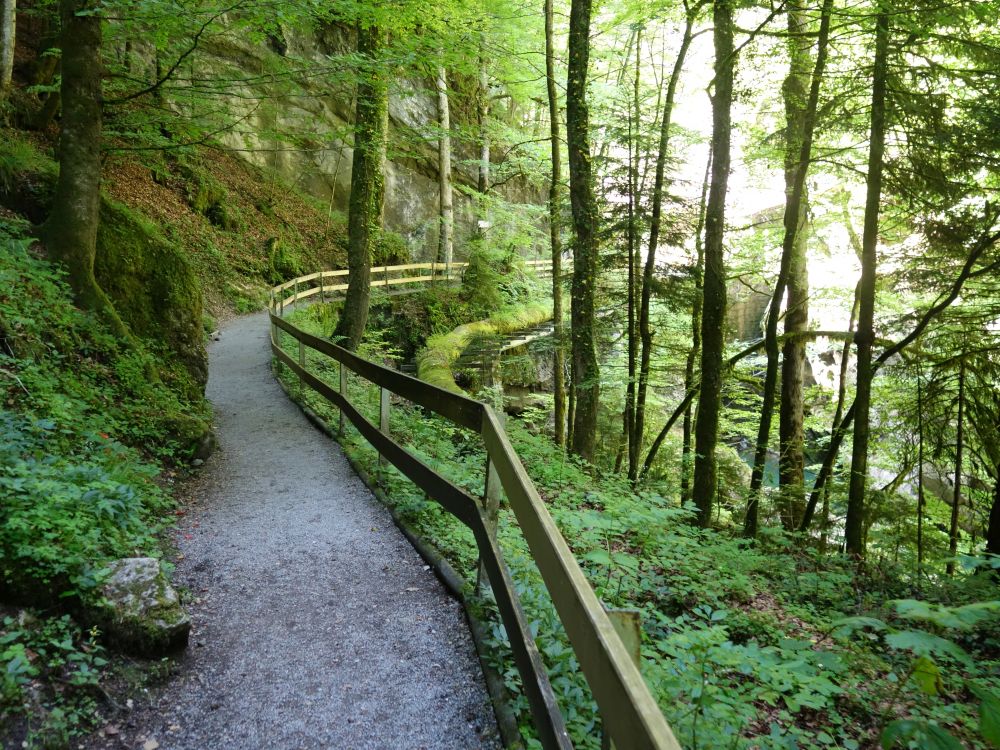 Bild 7: Rappenloch | ||||||||||||||||||||||||||||||
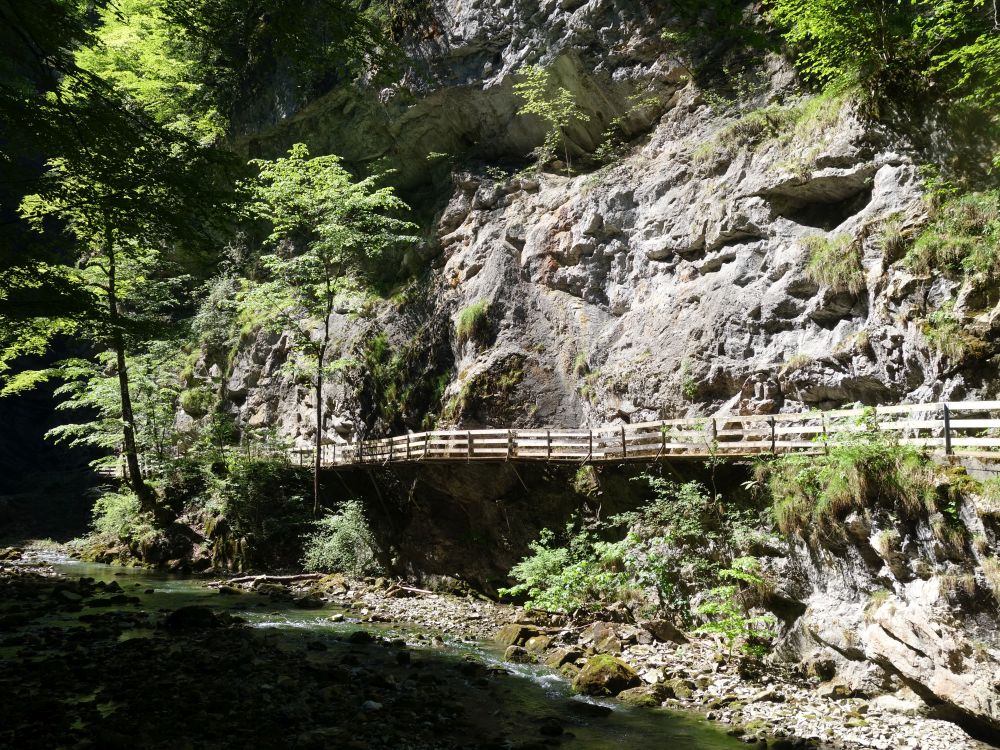 Bild 8: Rappenloch | ||||||||||||||||||||||||||||||
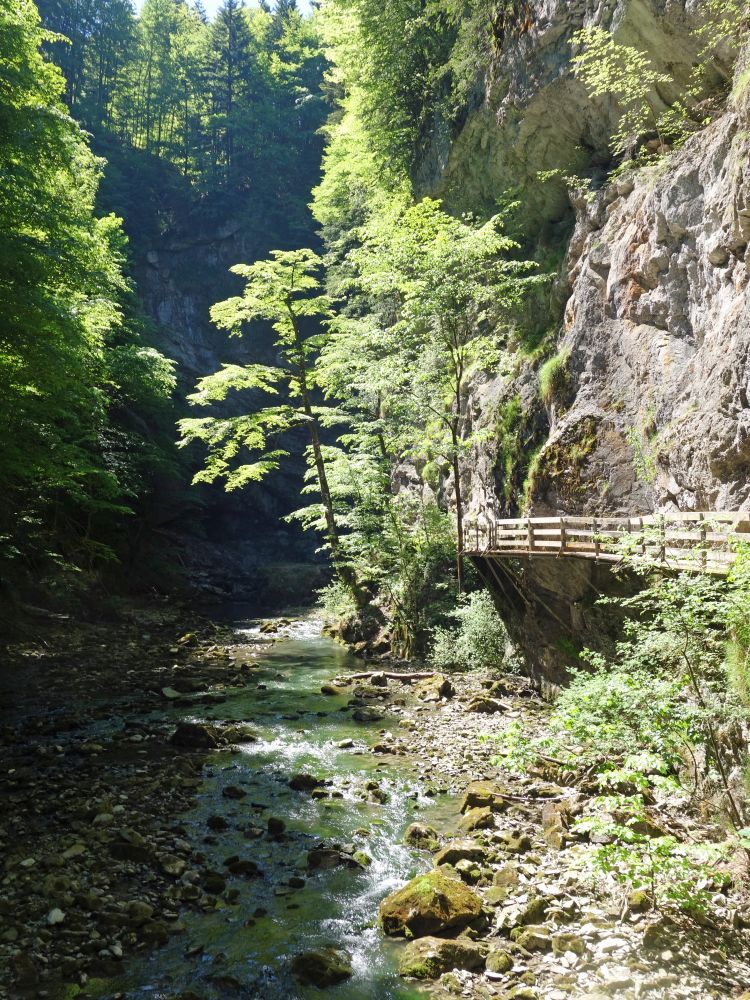 Bild 9: Rappenloch | ||||||||||||||||||||||||||||||
 Bild 10: Infotafel | ||||||||||||||||||||||||||||||
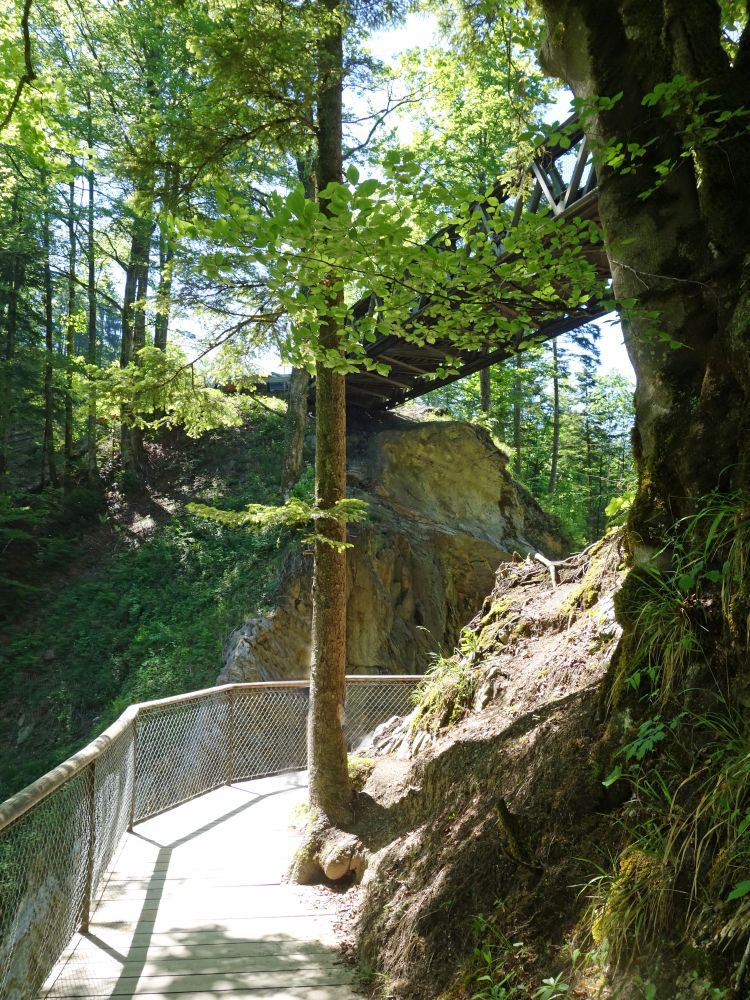 Bild 11: Steg im Rappenloch | ||||||||||||||||||||||||||||||
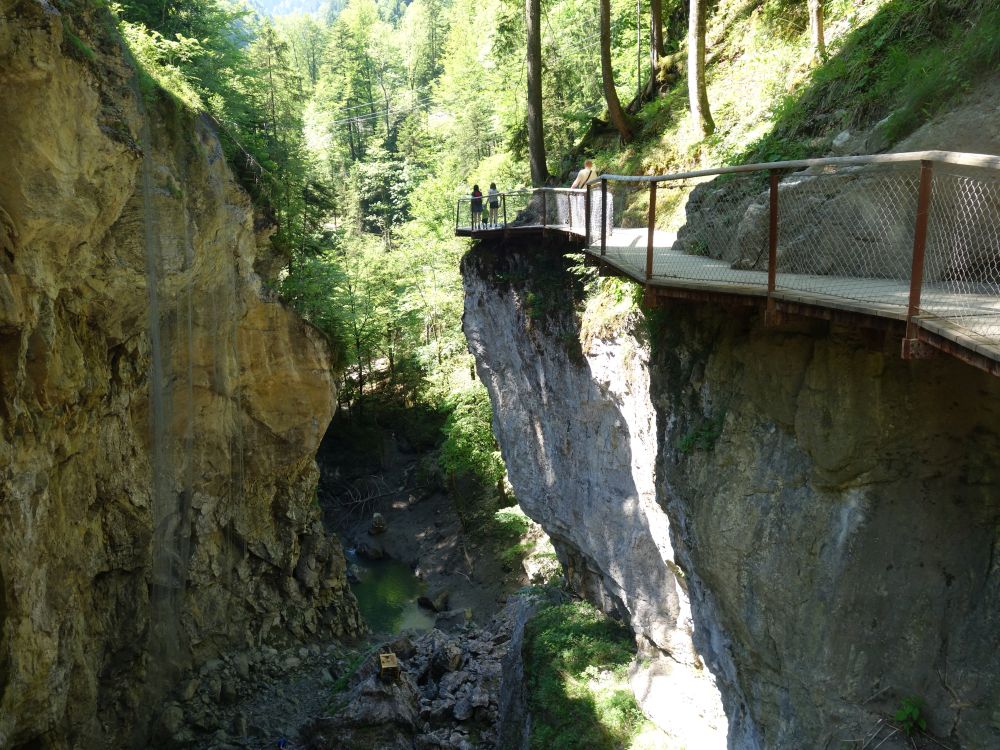 Bild 12: Steg im Rappenloch | ||||||||||||||||||||||||||||||
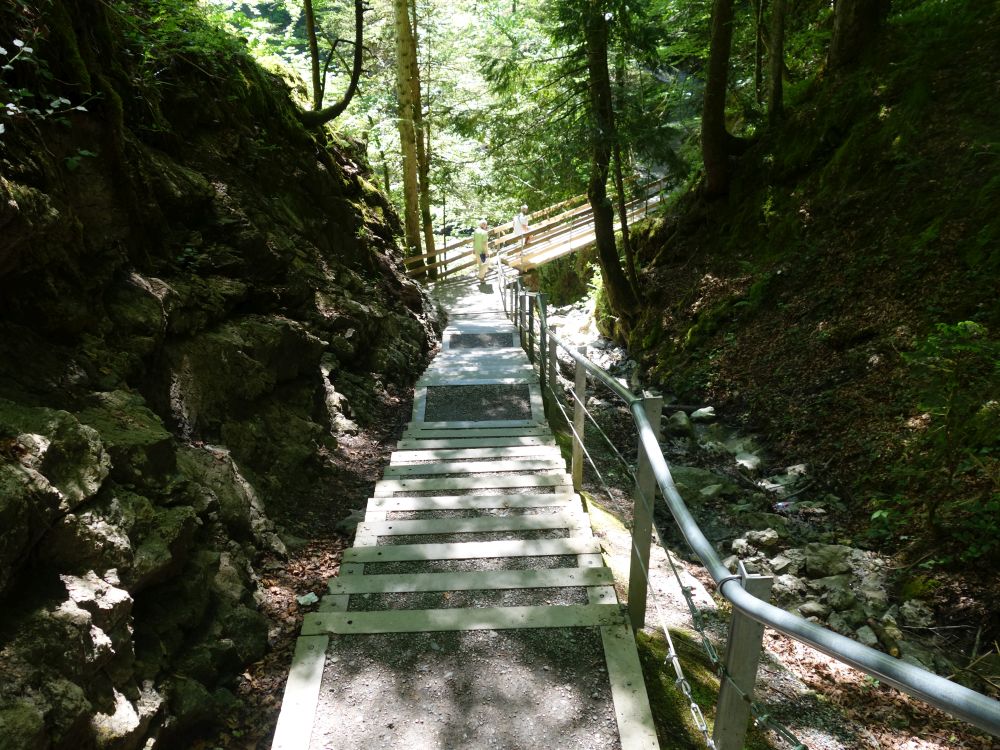 Bild 13: Steg im Rappenloch | ||||||||||||||||||||||||||||||
 Bild 14: Staufensee | ||||||||||||||||||||||||||||||
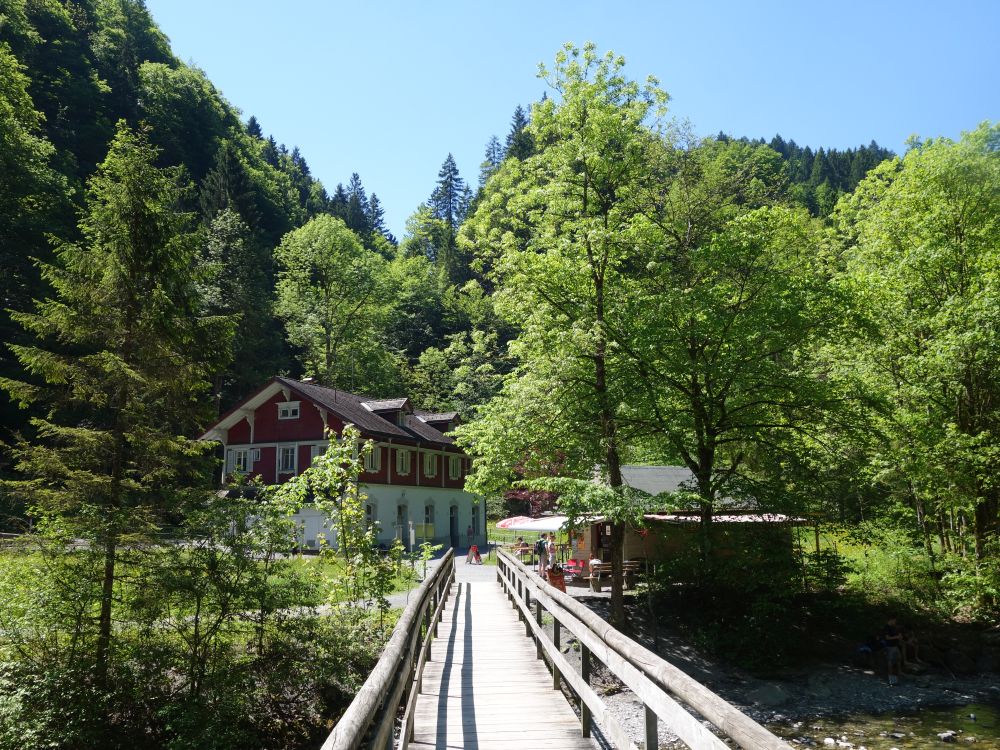 Bild 15: Kraftwerk Ebensand | ||||||||||||||||||||||||||||||
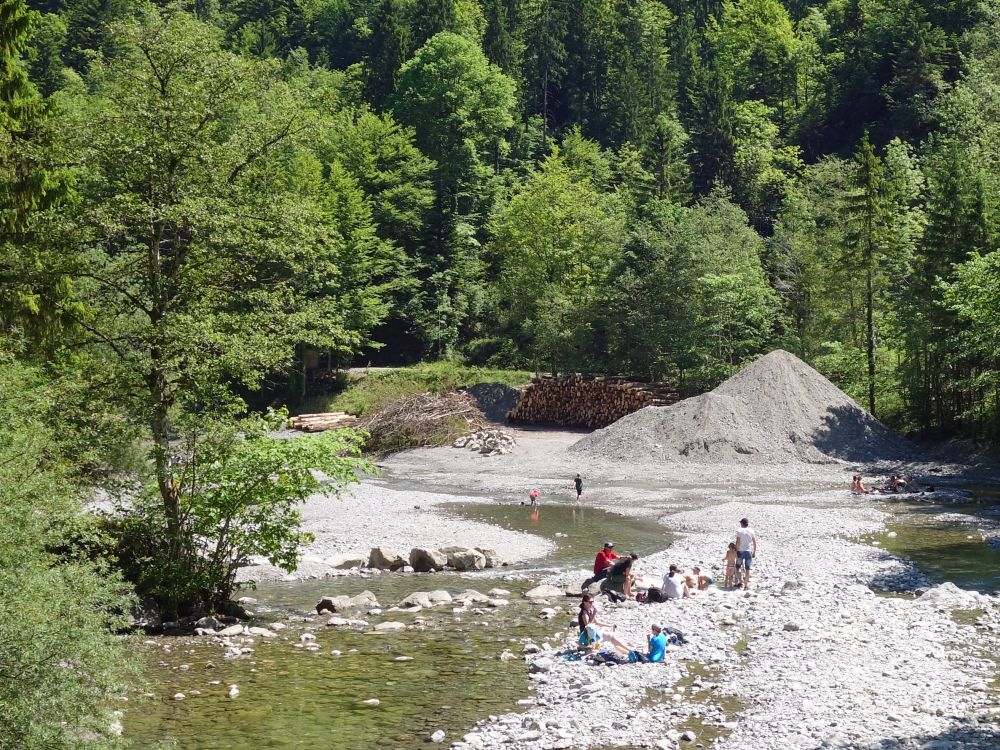 Bild 16: Zufluss Staufensee | ||||||||||||||||||||||||||||||
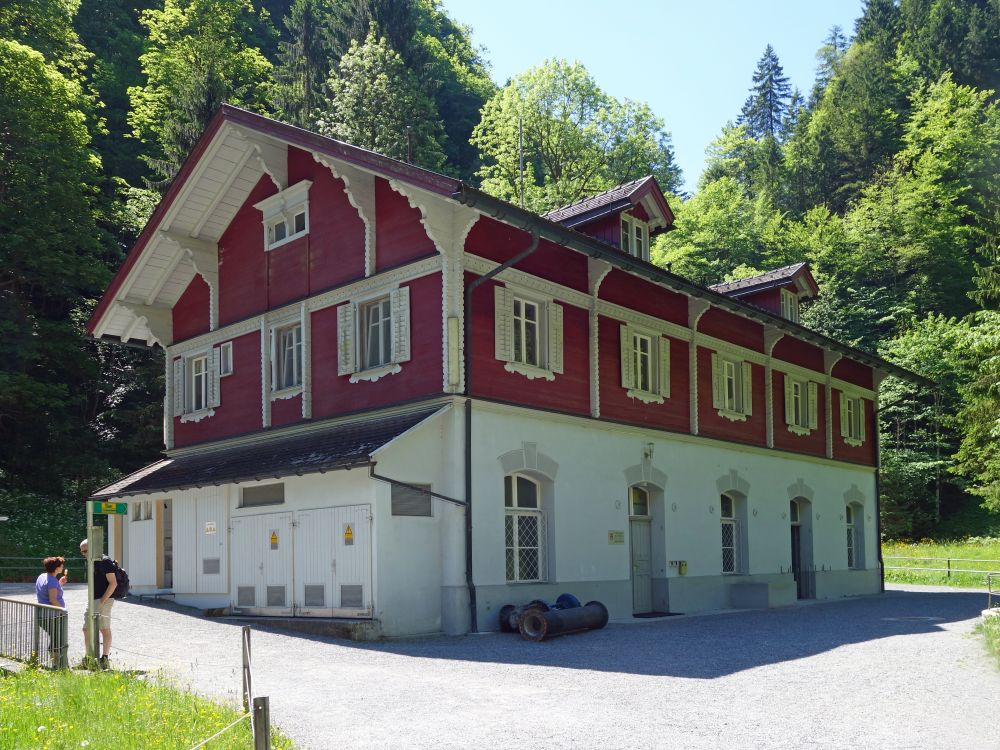 Bild 17: Karftwerk Ebensand | ||||||||||||||||||||||||||||||
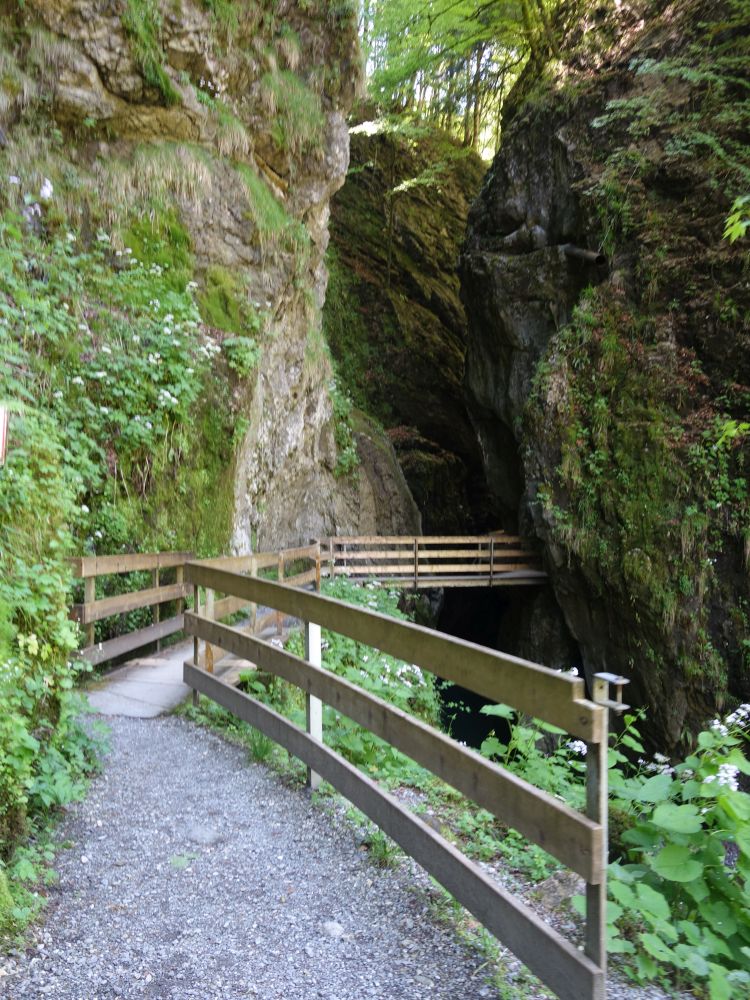 Bild 18: Alploch | ||||||||||||||||||||||||||||||
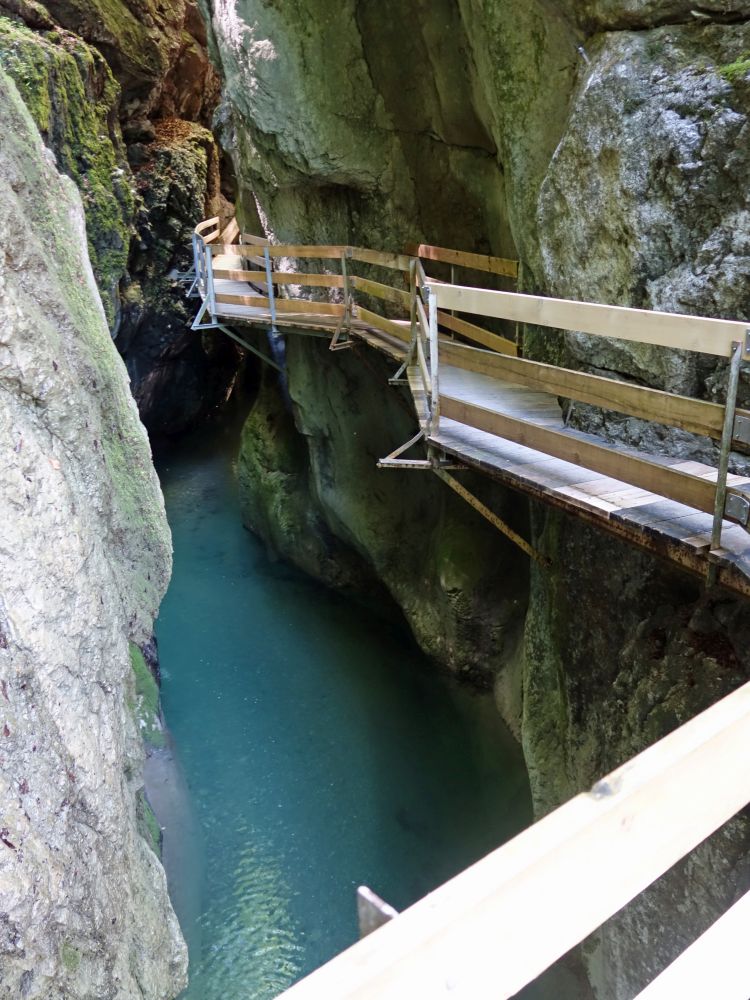 Bild 19: Alploch | ||||||||||||||||||||||||||||||
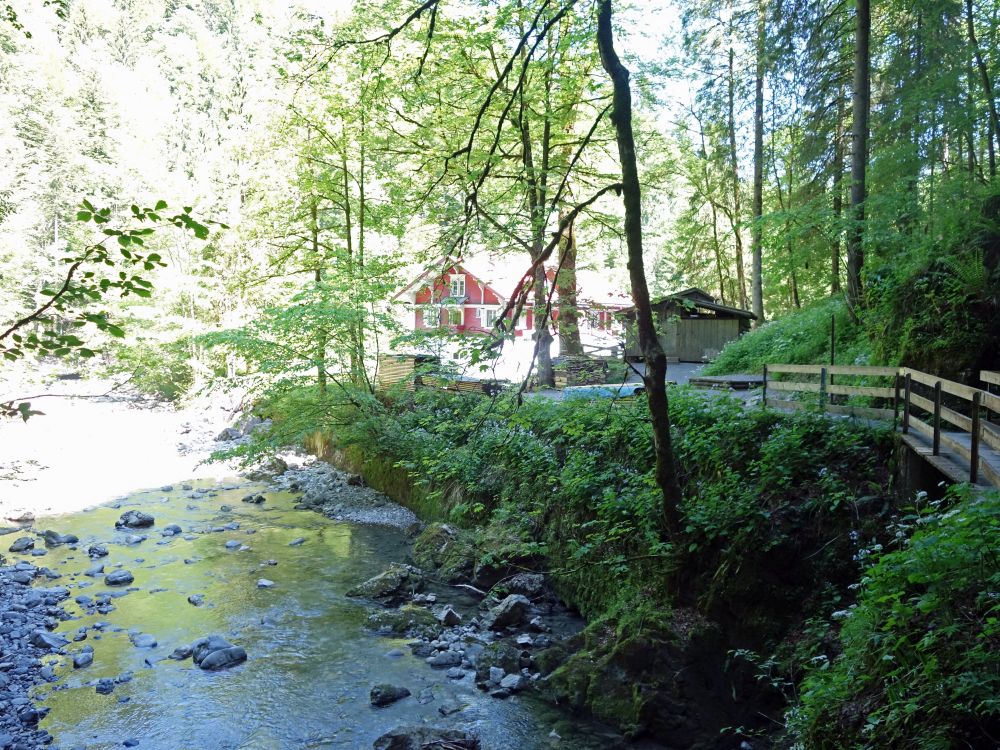 Bild 20: Dornbirner Ach und Kraftwerk | ||||||||||||||||||||||||||||||
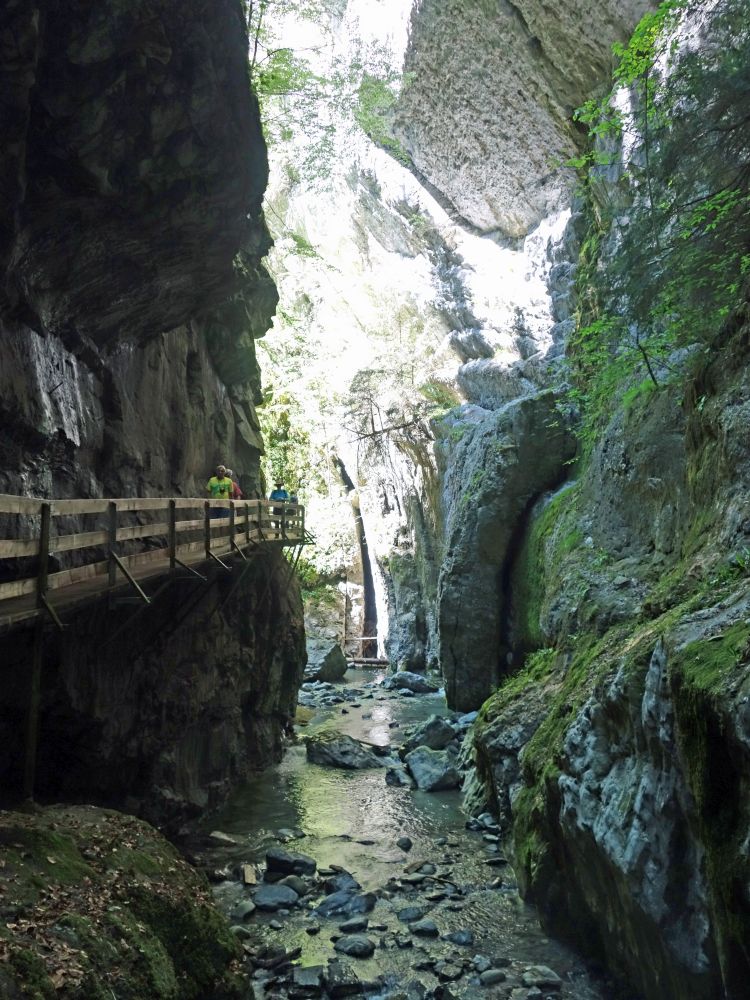 Bild 21: Alploch | ||||||||||||||||||||||||||||||
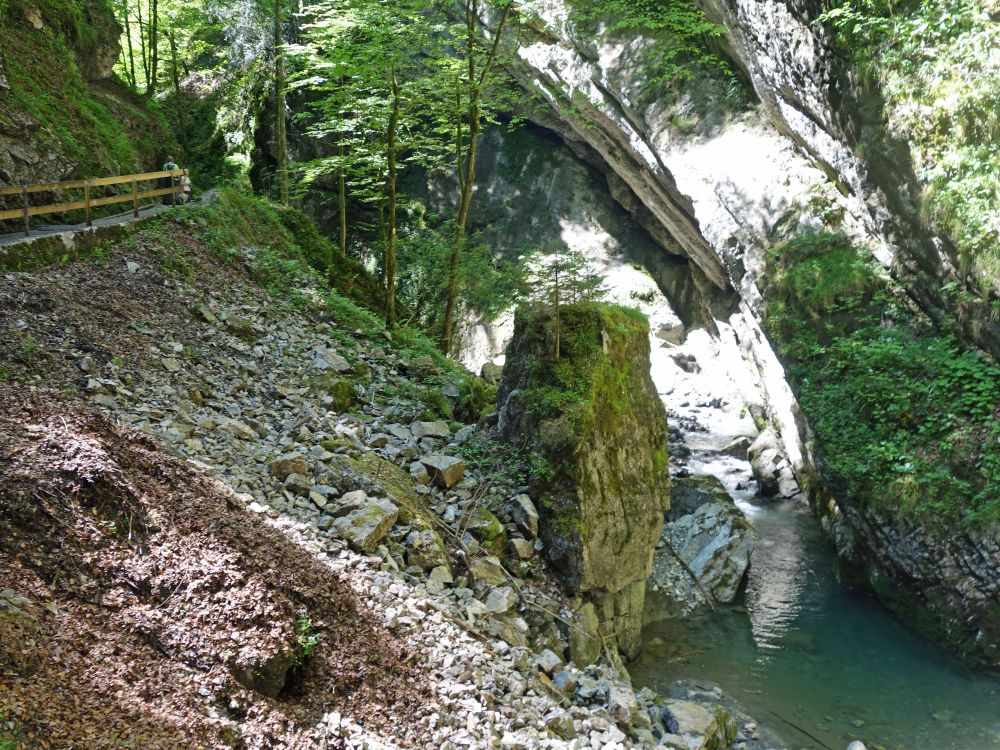 Bild 22: Alploch | ||||||||||||||||||||||||||||||
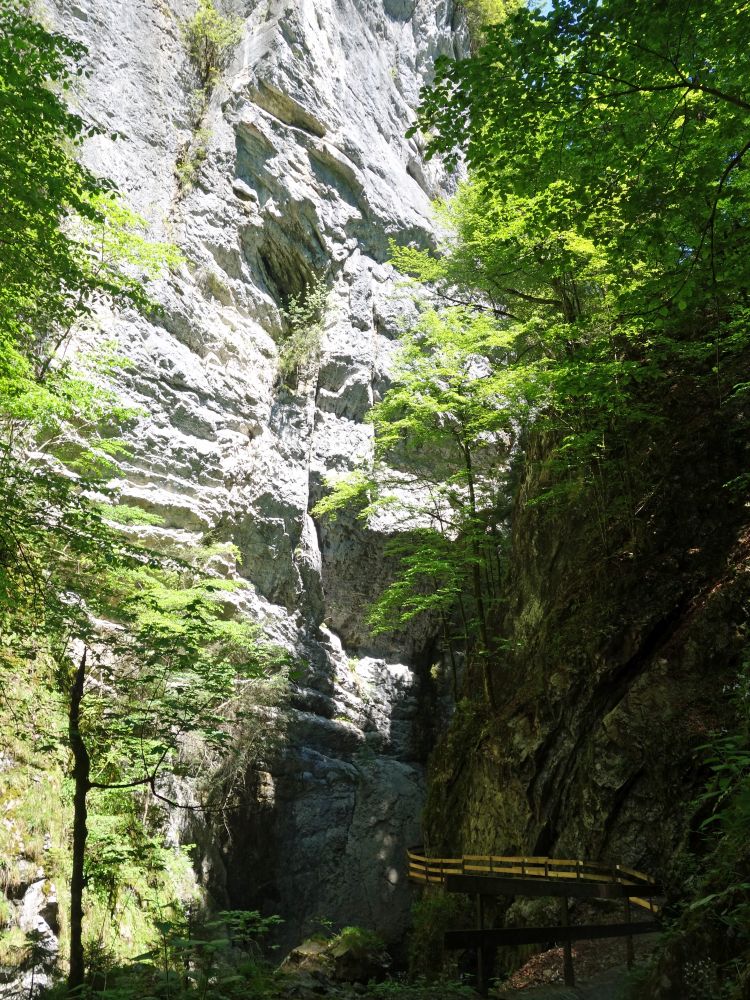 Bild 23: Alploch | ||||||||||||||||||||||||||||||
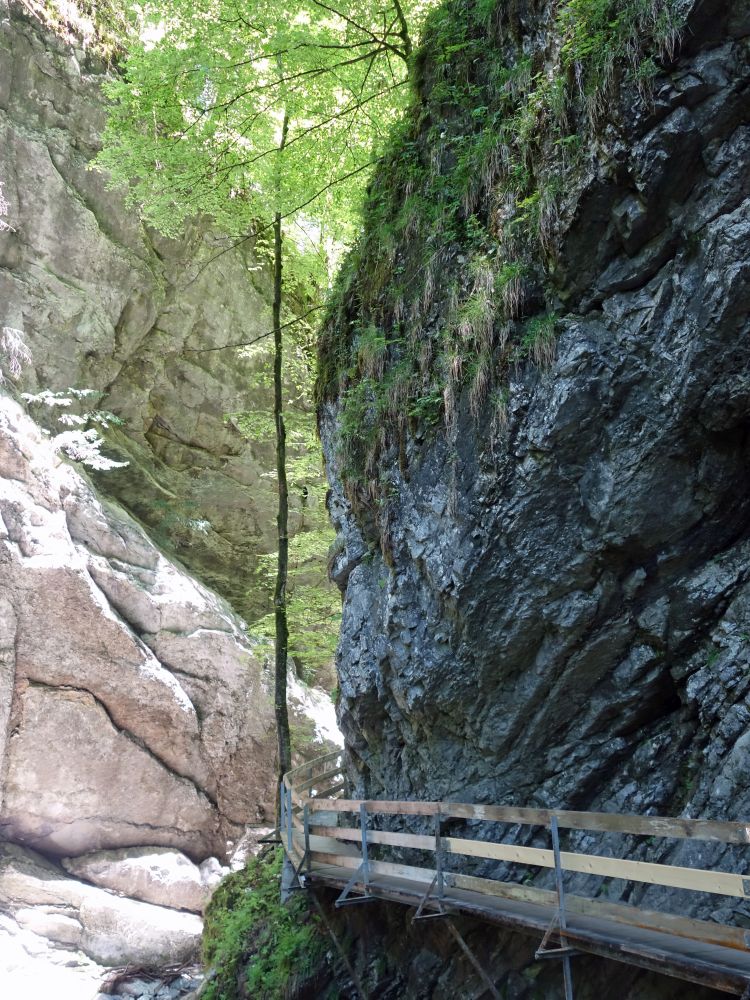 Bild 24: Alploch | ||||||||||||||||||||||||||||||
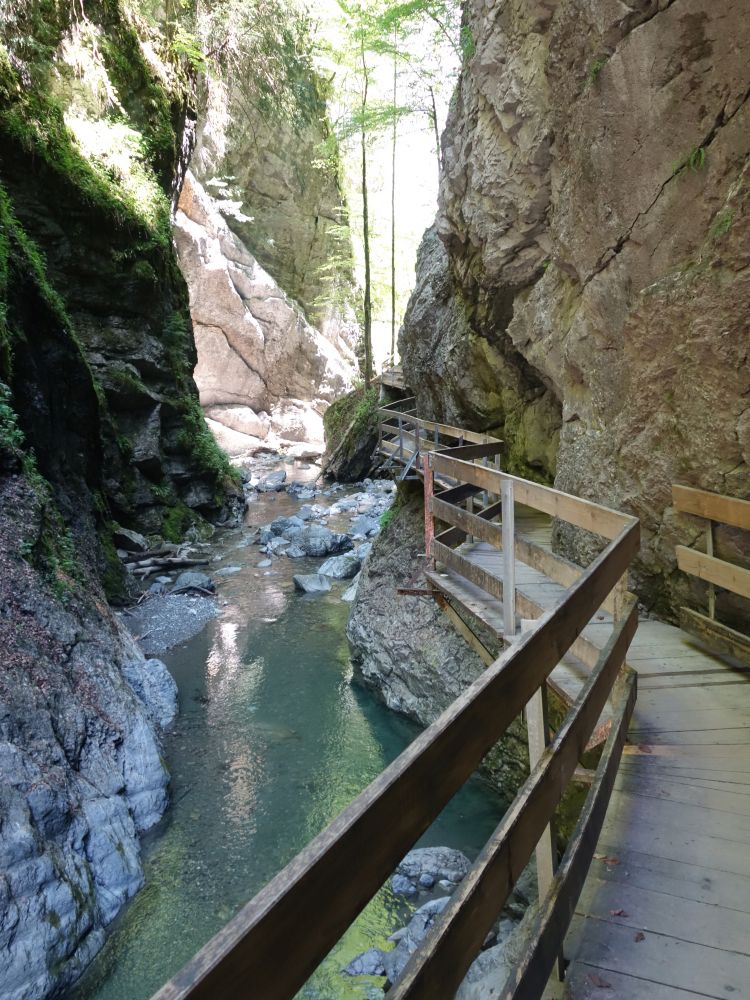 Bild 25: Alploch | ||||||||||||||||||||||||||||||
 Bild 26: Alploch | ||||||||||||||||||||||||||||||
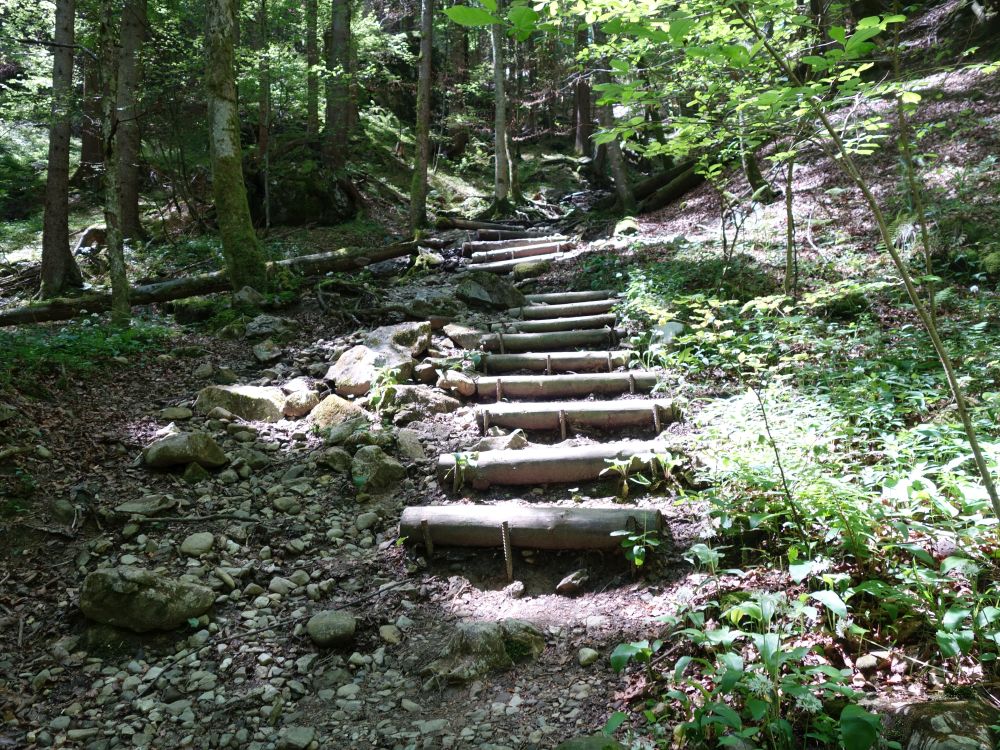 Bild 27: Treppe bei Schmitte | ||||||||||||||||||||||||||||||
 Bild 28: Eingang Kirchli | ||||||||||||||||||||||||||||||
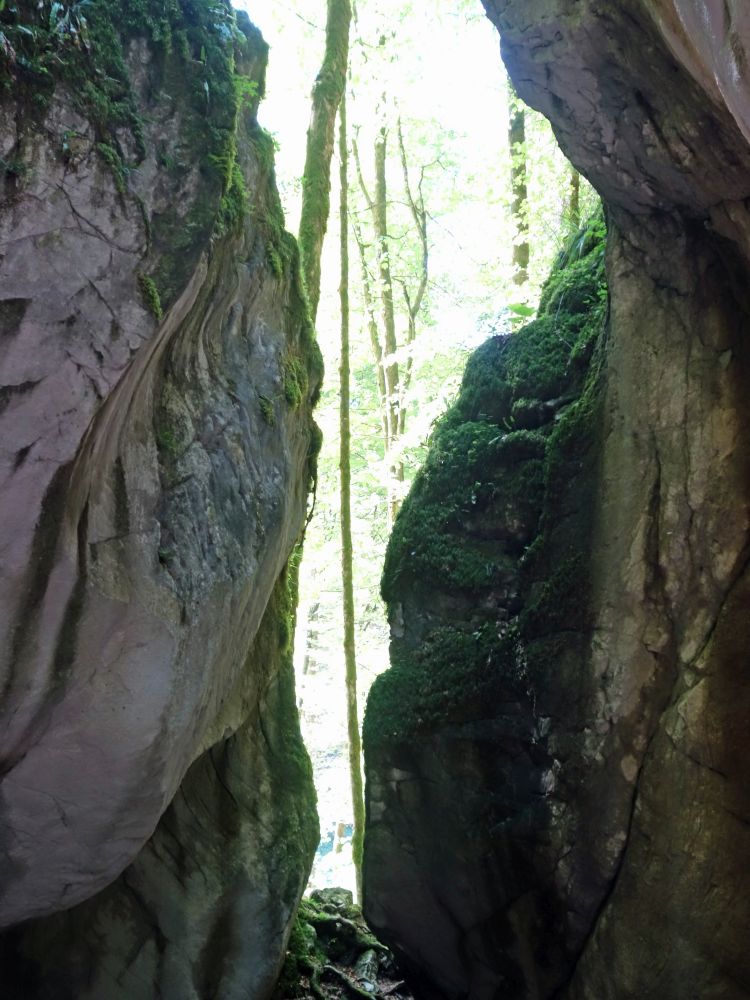 Bild 29: Kirchli | ||||||||||||||||||||||||||||||
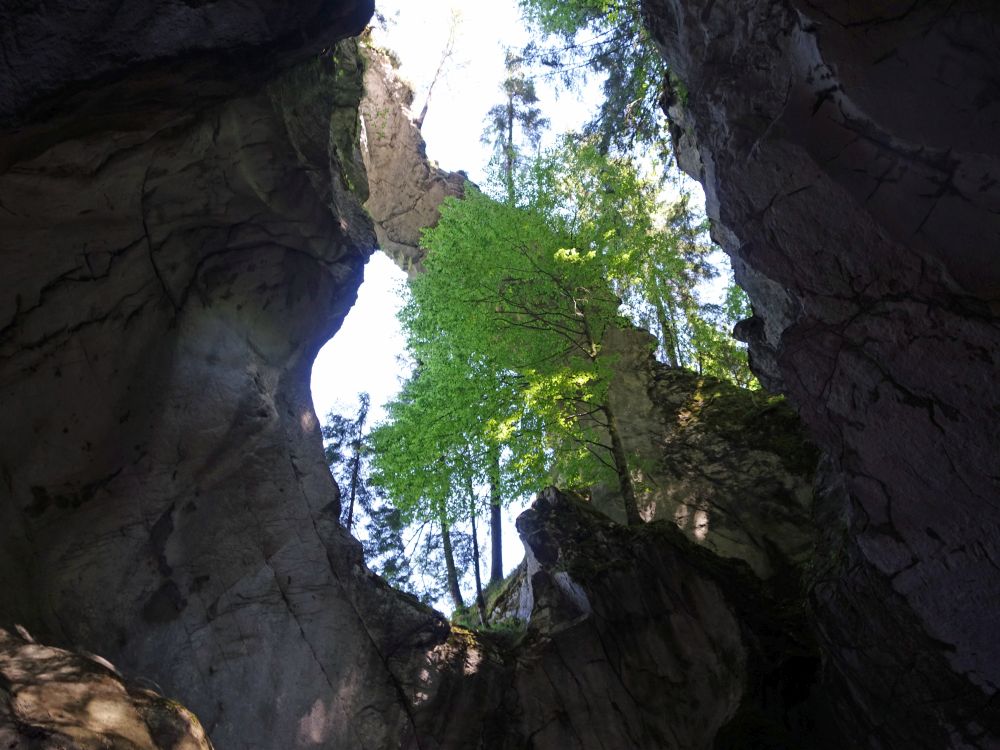 Bild 30: Kirchli | ||||||||||||||||||||||||||||||
 Bild 31: Kirchli | ||||||||||||||||||||||||||||||
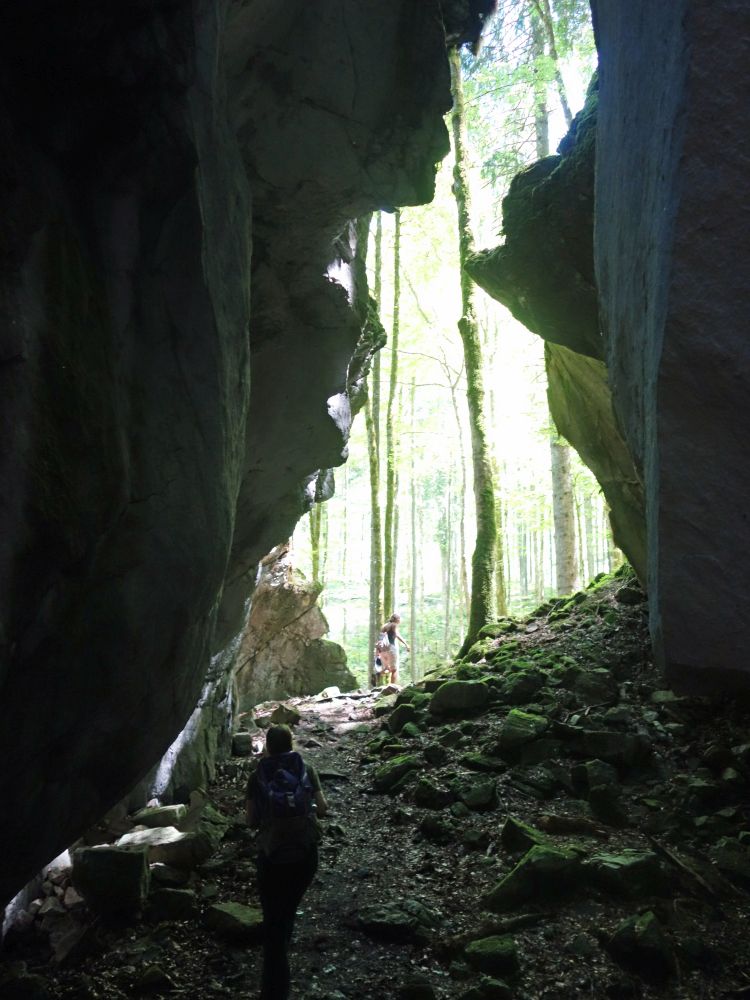 Bild 32: Ausgang Kirchli | ||||||||||||||||||||||||||||||
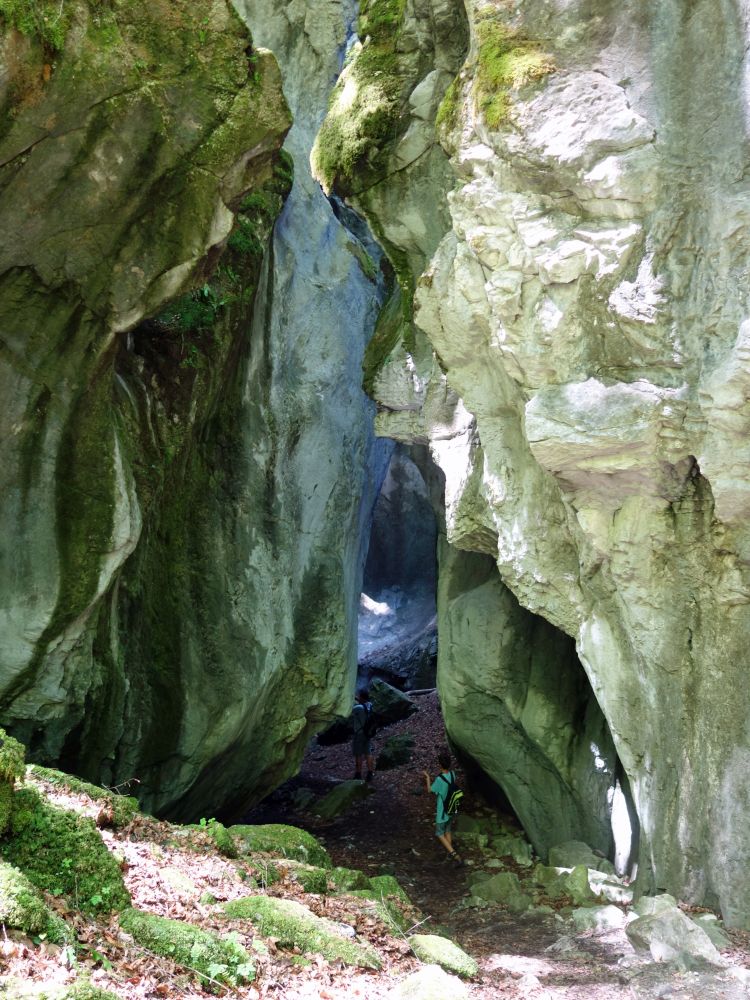 Bild 33: Kirchli | ||||||||||||||||||||||||||||||
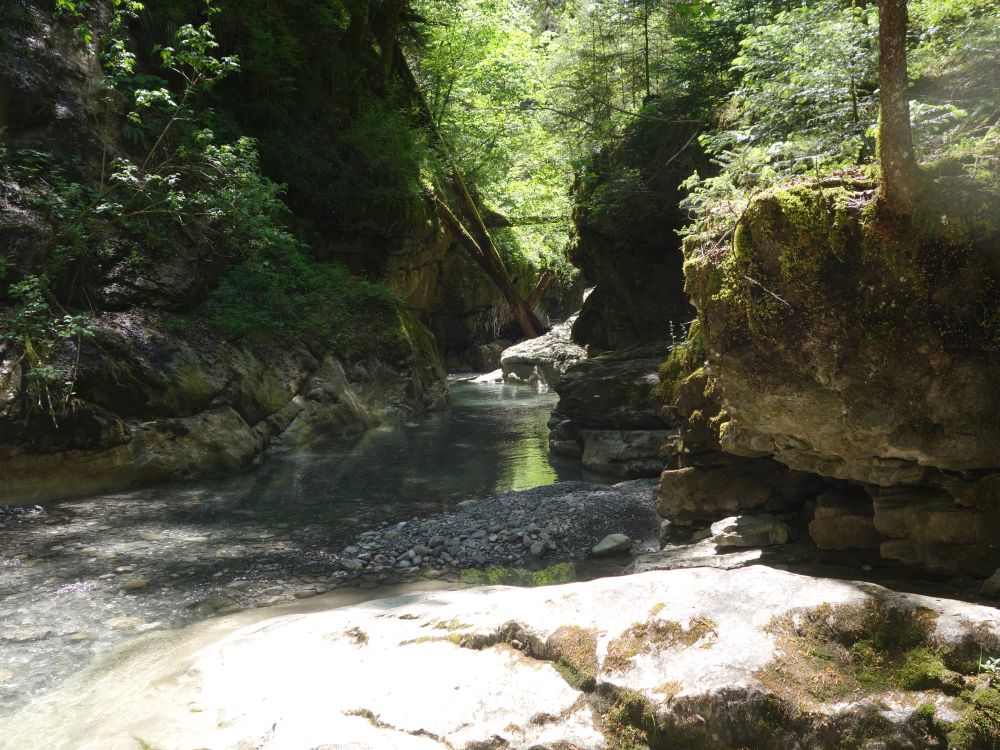 Bild 34: Kobelache | ||||||||||||||||||||||||||||||
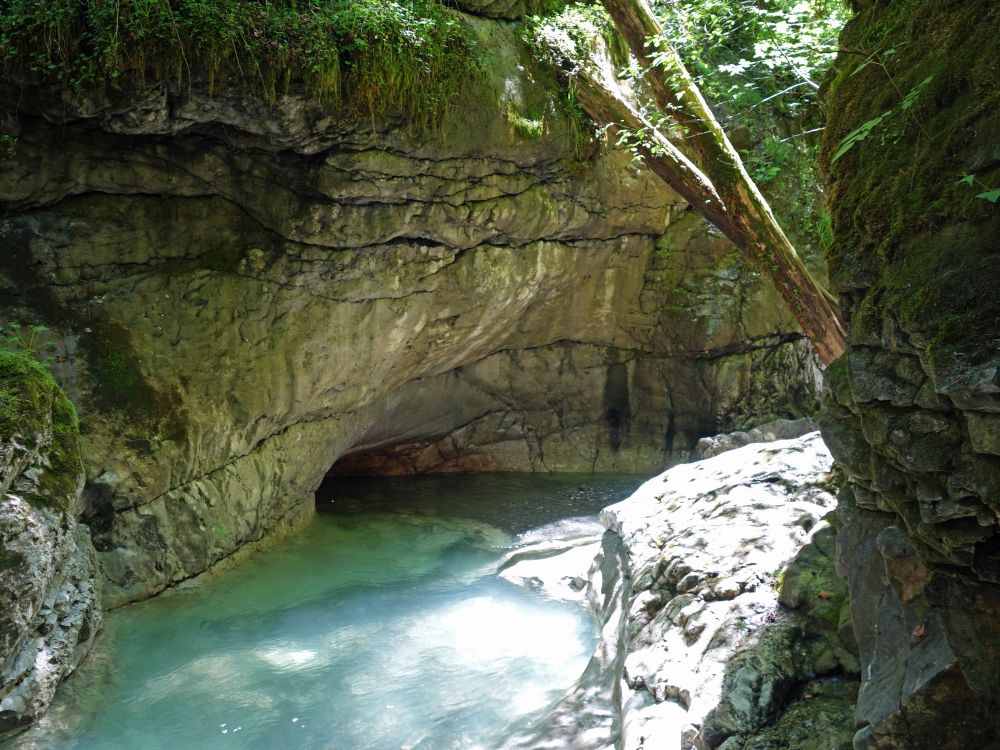 Bild 35: Kobelache | ||||||||||||||||||||||||||||||
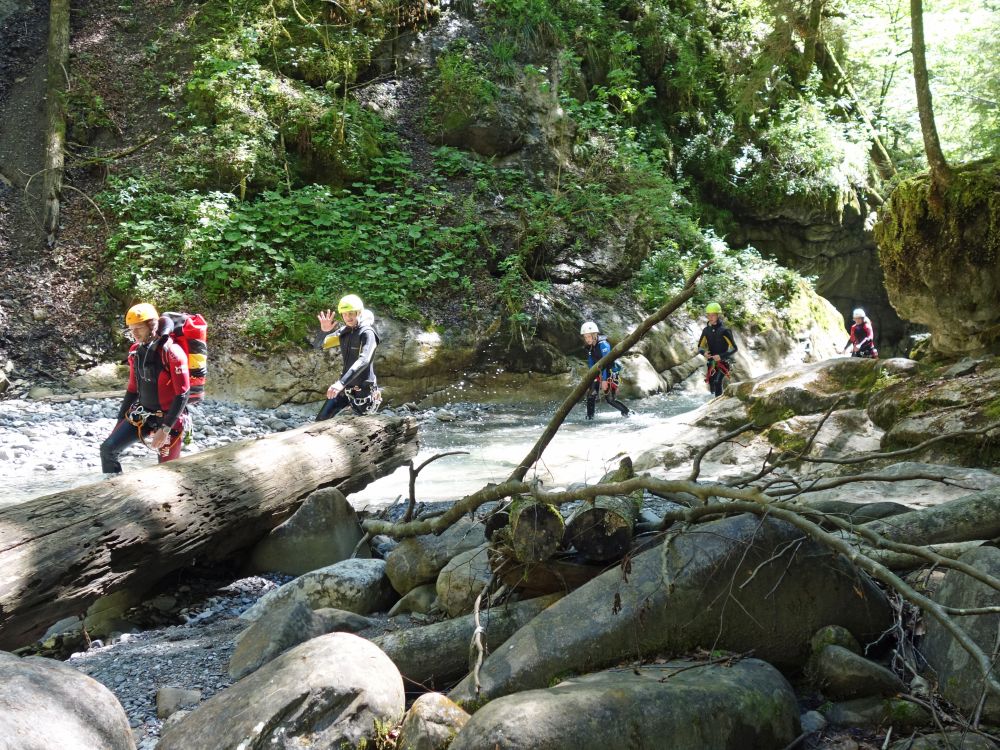 Bild 36: Flusswanderer | ||||||||||||||||||||||||||||||
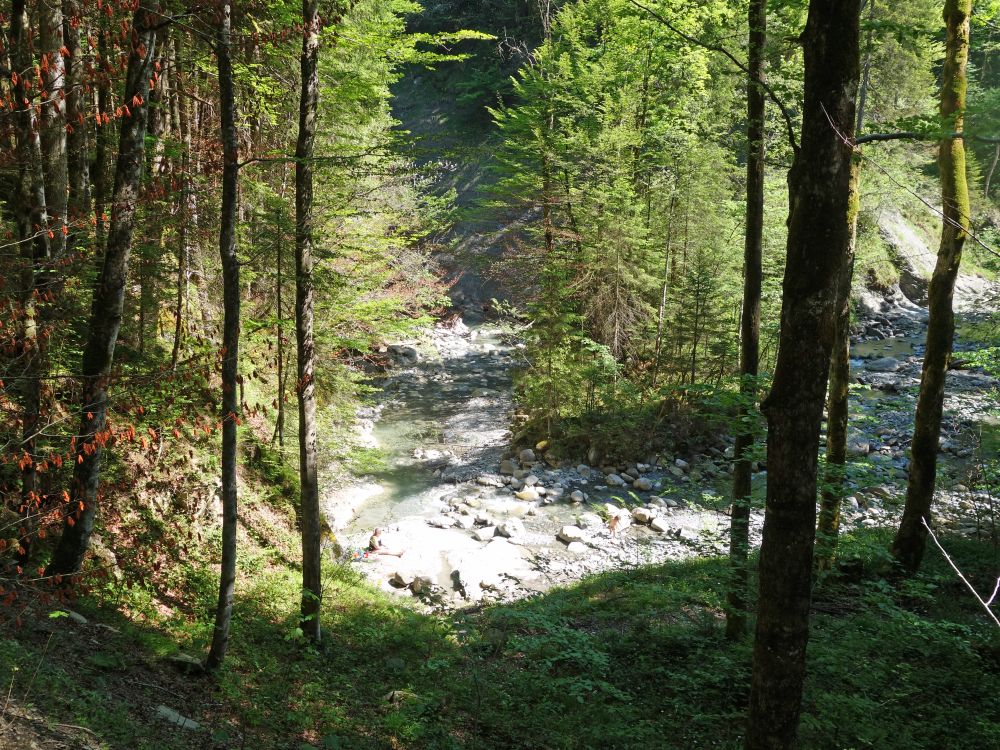 Bild 37: Kobelache | ||||||||||||||||||||||||||||||
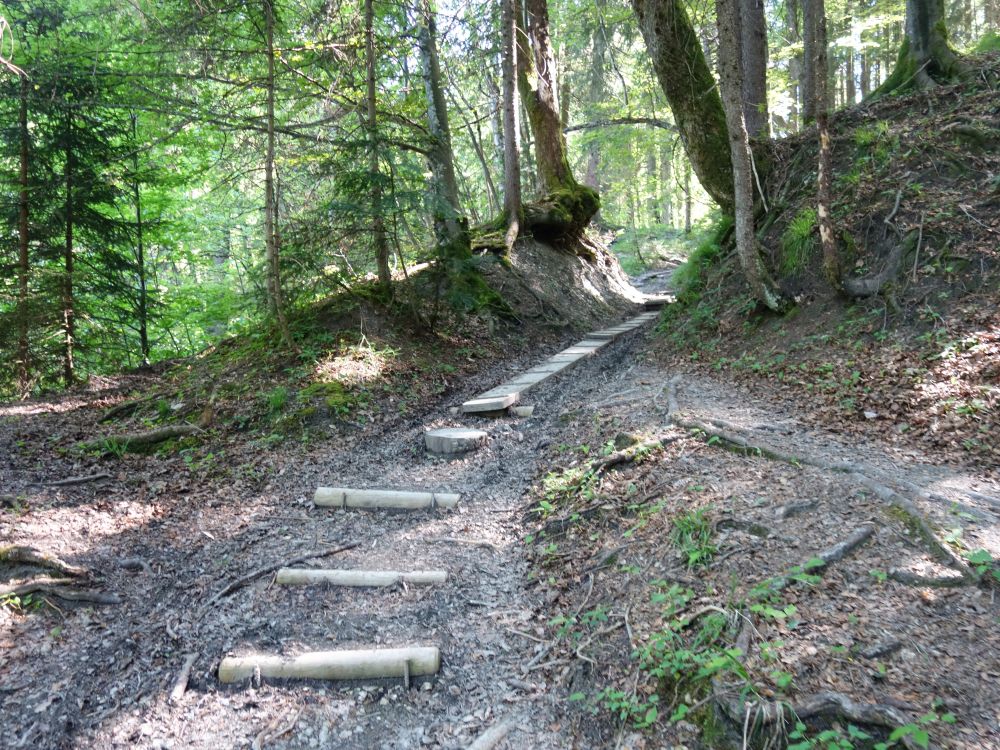 Bild 38: präparierter Pfad | ||||||||||||||||||||||||||||||
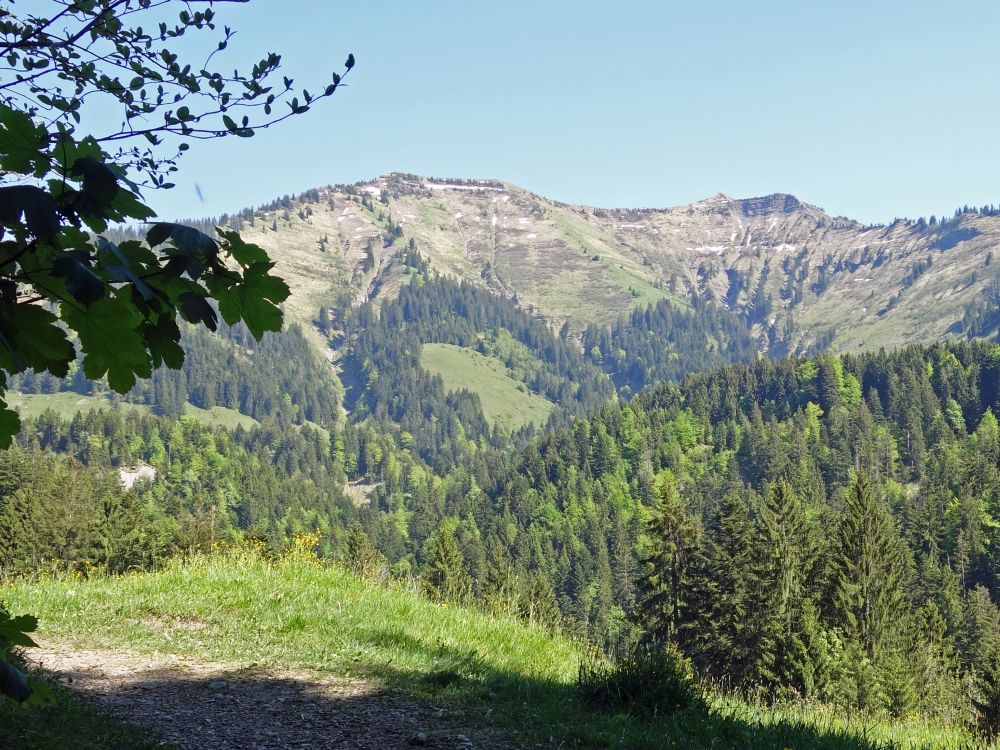 Bild 39: Guntenspitze und First | ||||||||||||||||||||||||||||||
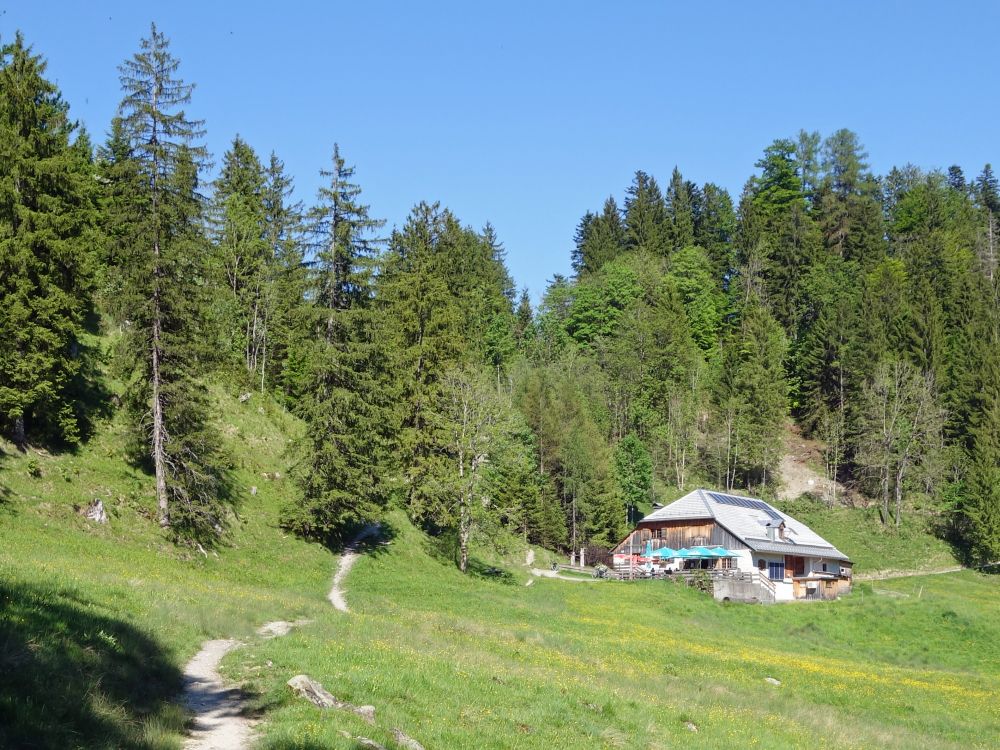 Bild 40: Kobelalpe | ||||||||||||||||||||||||||||||
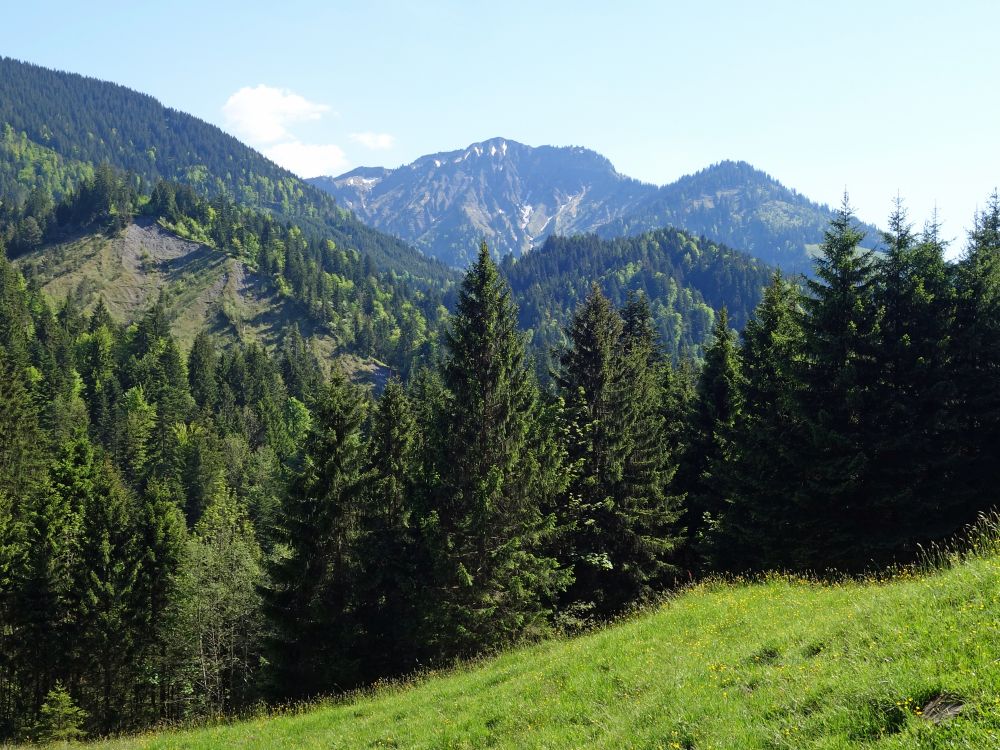 Bild 41: Alpkopf und Sattelspitz | ||||||||||||||||||||||||||||||
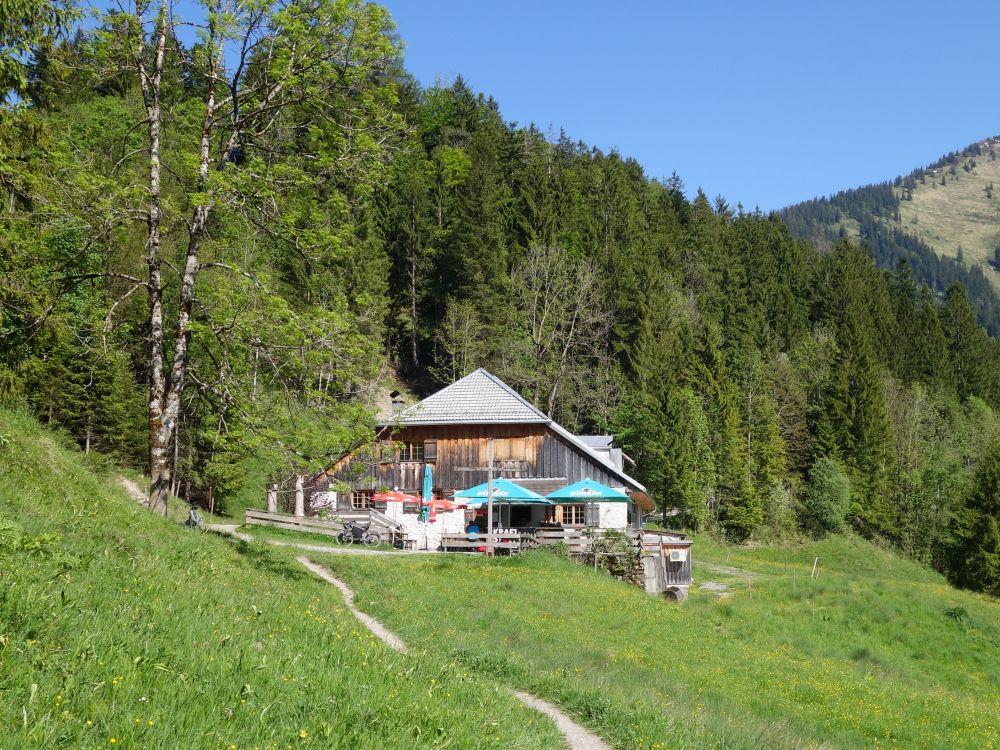 Bild 42: Kobelalpe | ||||||||||||||||||||||||||||||
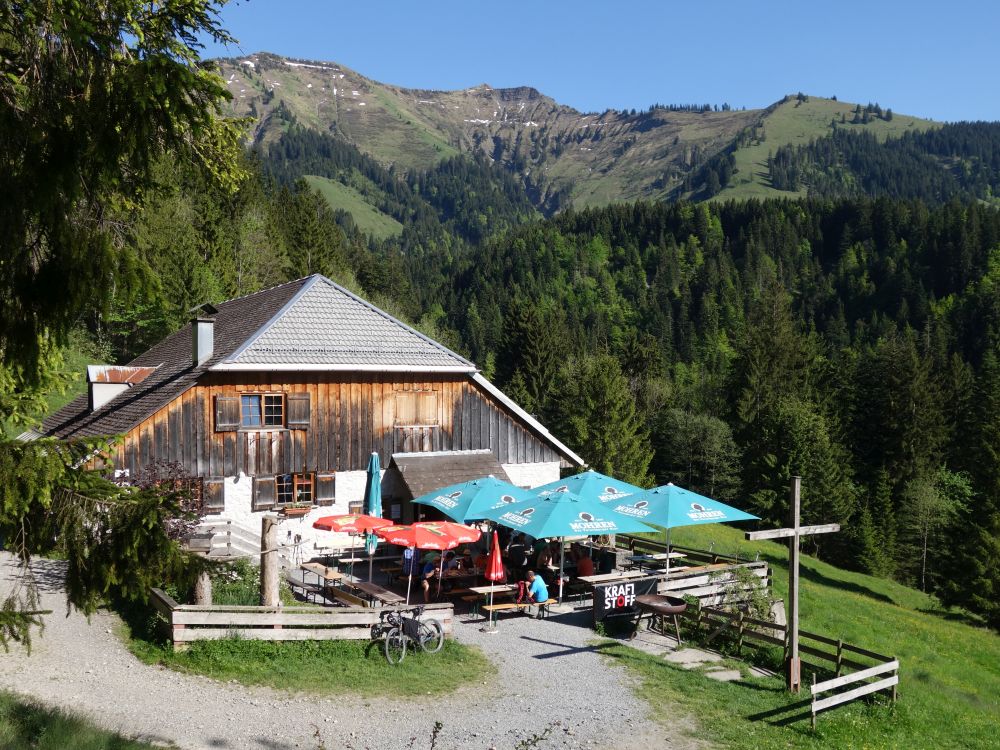 Bild 43: Kobelalpe | ||||||||||||||||||||||||||||||
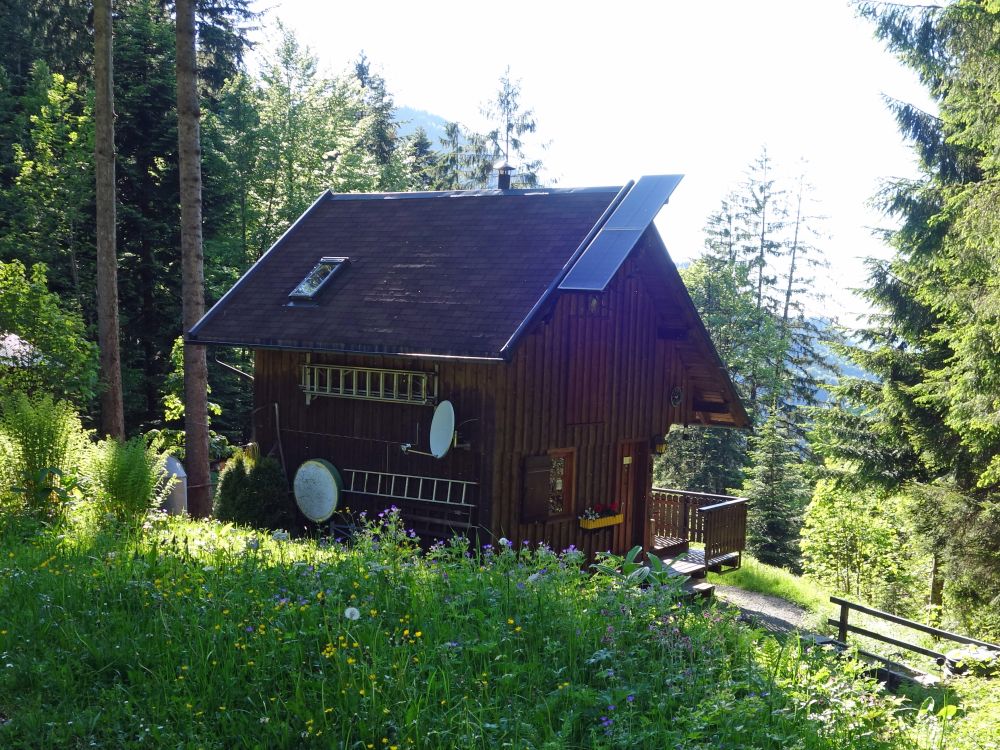 Bild 44: Waldhütte | ||||||||||||||||||||||||||||||
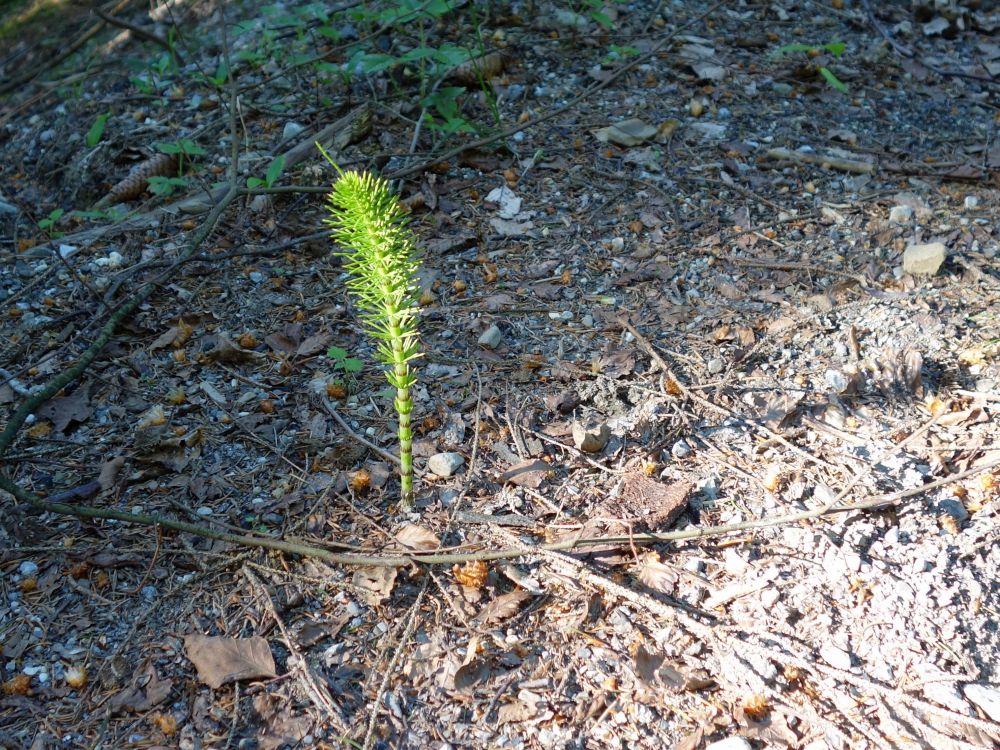 Bild 45: sonniges Pflänzchen | ||||||||||||||||||||||||||||||
 Bild 46: Kettenfahrzeug | ||||||||||||||||||||||||||||||
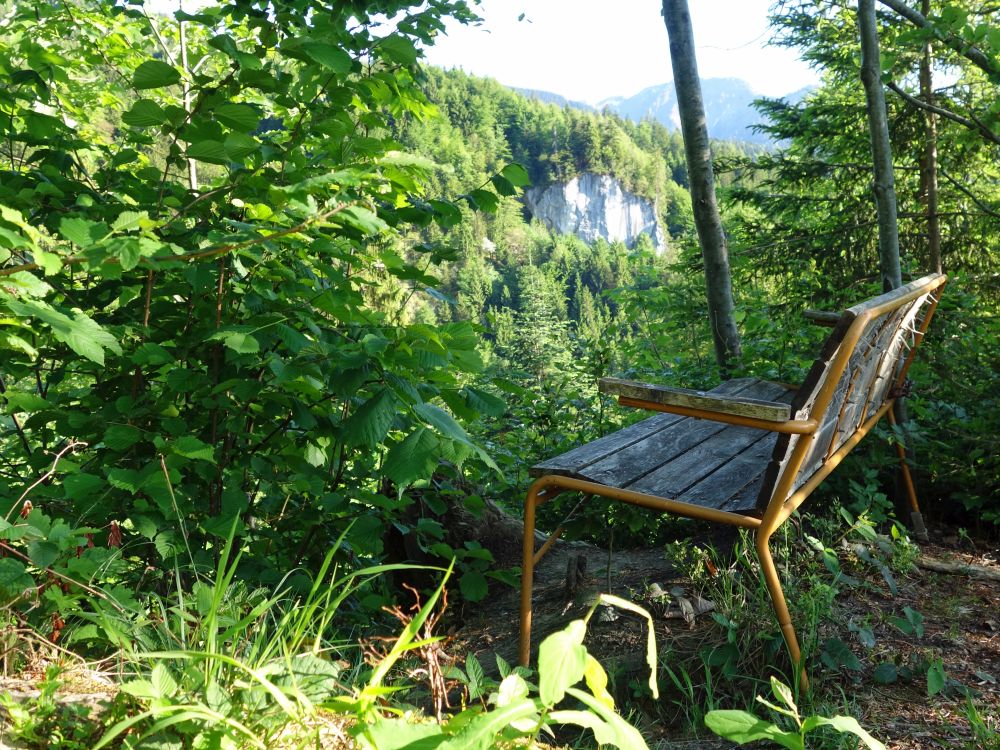 Bild 47: Aussichtsbank | ||||||||||||||||||||||||||||||
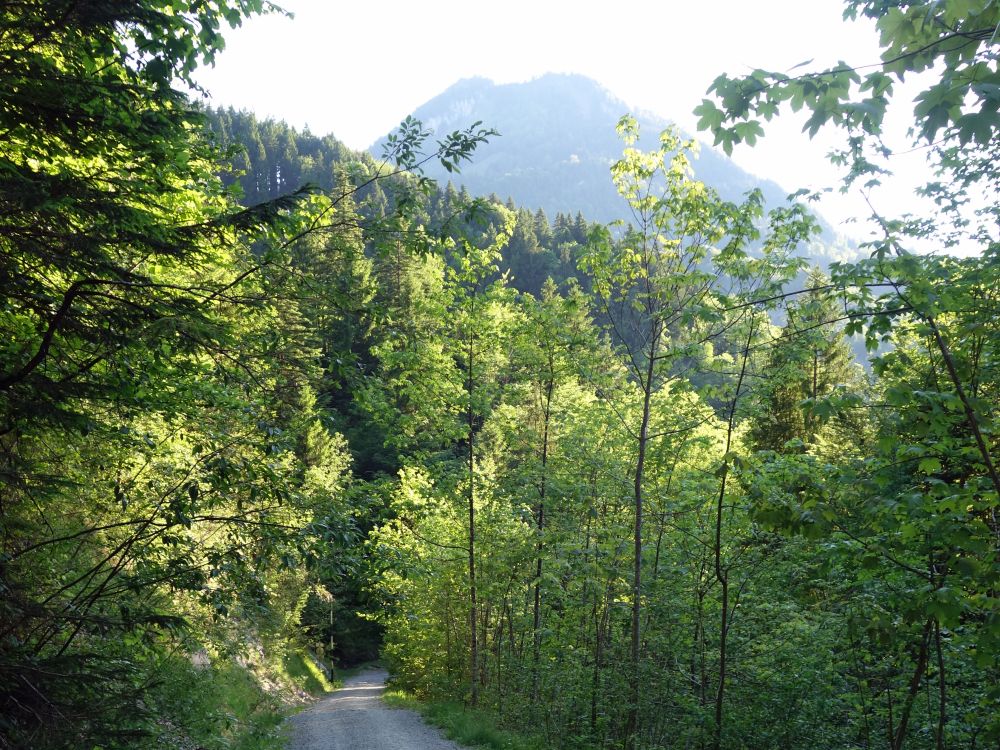 Bild 48: Staufen | ||||||||||||||||||||||||||||||
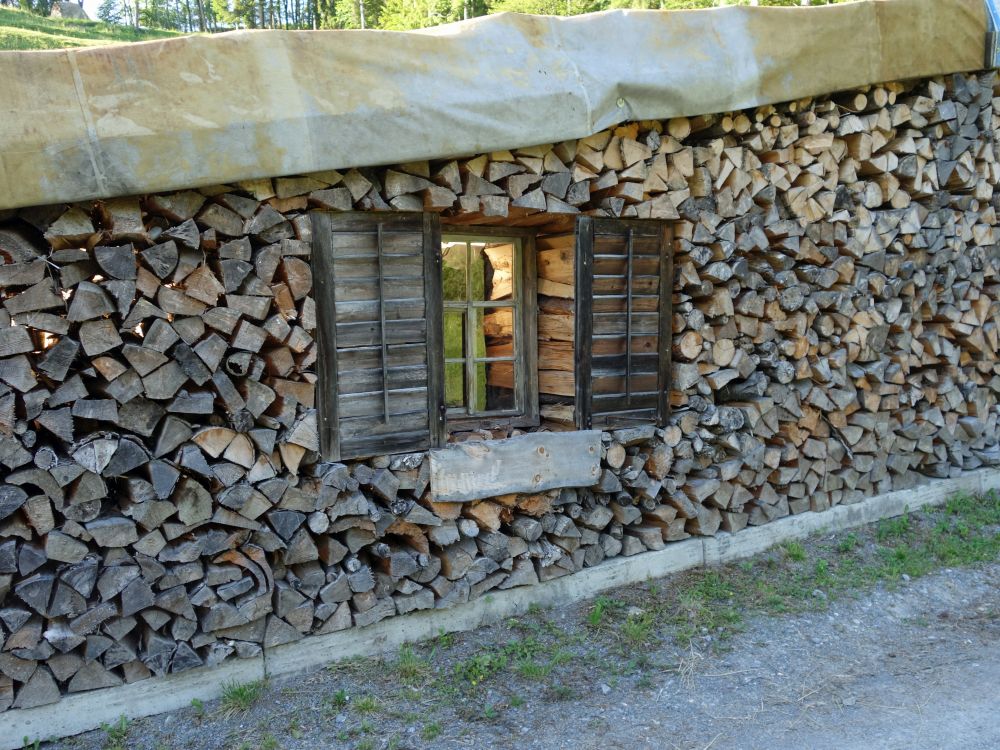 Bild 49: Holzstapel mit Fenster | ||||||||||||||||||||||||||||||
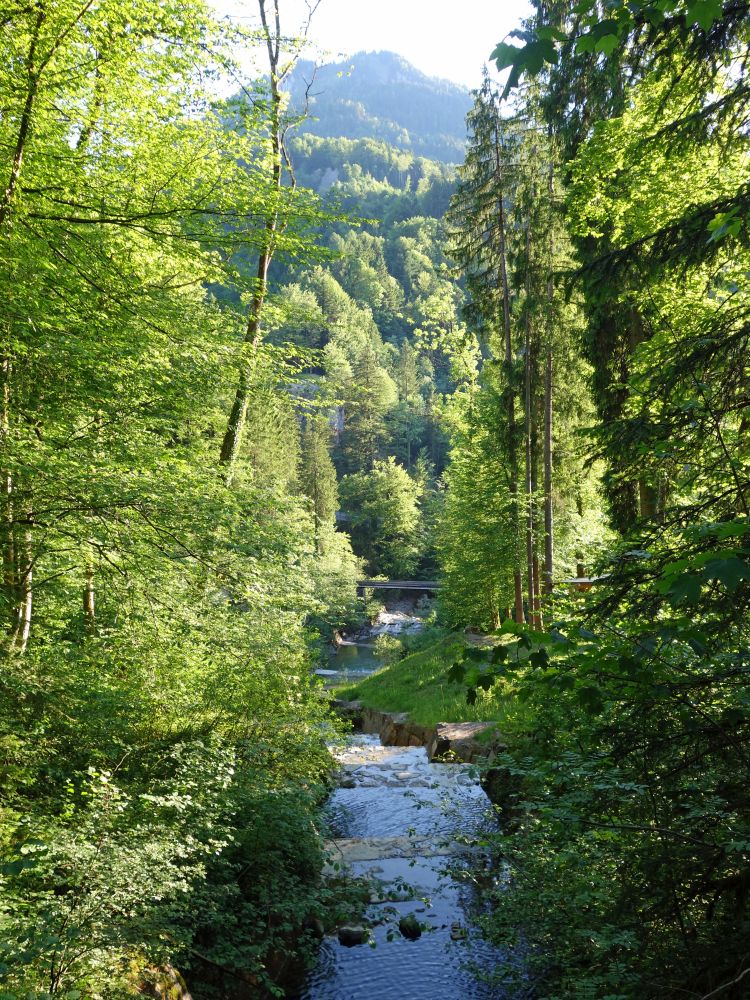 Bild 50: Staufen und Kobelbach | ||||||||||||||||||||||||||||||
|
Di. 23.05.2017, Hörnli
|
|
So. 11.06.2017, First - Hohe Kugel
|